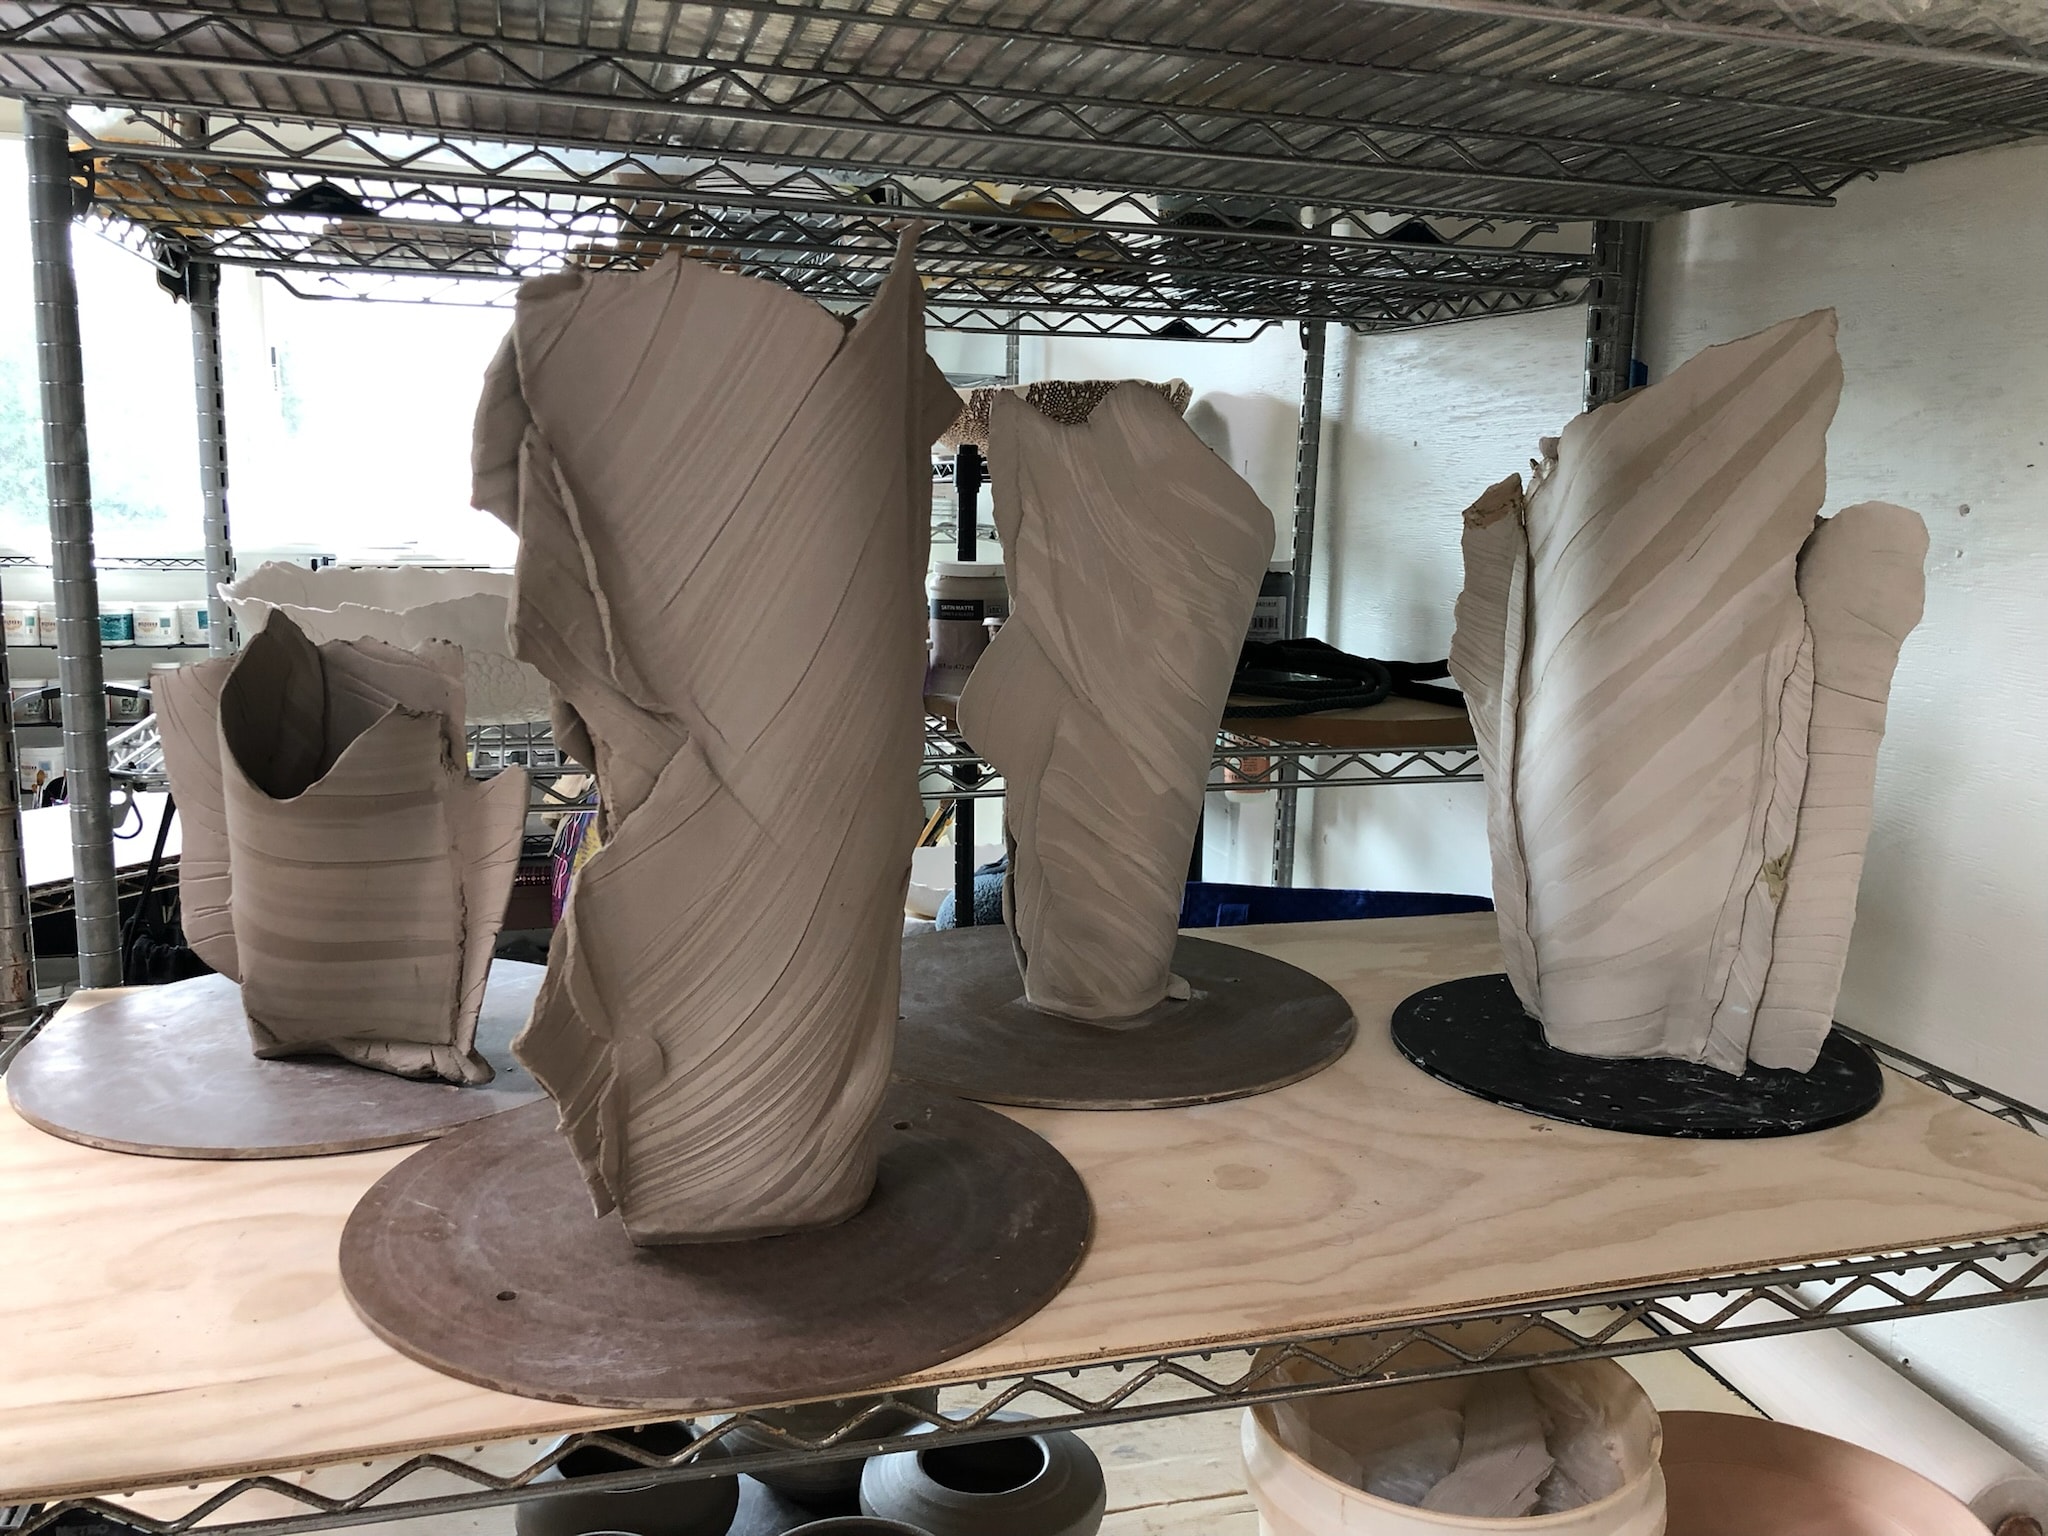
After you have made something in clay, the process still requires a lot of attention. Clay has a lot of water in it. As it begins to evaporate while drying your forms will begin a shrinking process that is not over until it is fully fired. Some clays will shrink 11 – 14% between when you created them and when they are finished with the glaze firing.
Shrinking can mean cracking. Where the forms are under stress, along the edges of a seam, along a very thin edge, even a bottom that is too thick, you can get cracks that will ruin the piece.
I feel like I am babysitting my forms until they are out of the bisque kiln. By that time, the cracking or pulling apart of these difficult pieces should be over. But not always – I have had some surprises come out of the glaze kiln too because my forms demand a lot from the clay.
One of the first challenges for beginning potters is to learn the right length of time between throwing on the wheel and going back to trim the foot of cups, vases, or bowls. Trimming when the clay is too wet and caves in, or when it is too dry and is more like turning wood on a lathe can make this part of the process difficult. Trimming at exactly the right dryness when the form is ready makes trimming a fun part of the process.
I have brought what I have learned in handbuilding back to my wheel thrown vessels. I am careful about cup and pitcher handles, lidded forms and teapots. I want everything to be basically the same moisture before I let it dry in the open air. Even then, I keep an eye on the handles to make sure they don’t dry too far ahead of the body.
In dry climates, a damp box can be created using an entire shelving unit covered in plastic – or a closet with a humidifier. Pottery studios use these to allow for even drying or storing pots during this process.
For the forms in the above photo with so many extreme edges and flared rims, I do everything I can to slow down the drying process. I wrap the entire piece tightly in plastic and let it sit for a minimum of 24 hours. During all parts of the drying process I protect those thin edges. One way is to paint the thin edges with wax that will preserve the moisture. Another is just to keep the edges wrapped in plastic while the body of the form is unwrapped and exposed to the air.
Checking the drying process, changing how much is exposed to the air, using a spray bottle with water to moisten the clay, or the plastic, continues for almost a week. I figure I am dealing with geological materials that respond to geological time – so one week is nothing compared to a few million years. My experience has taught me over and over again to take time. When I put pieces is the bisque firing, they have been dry for a week or two. There is little chance even the most extreme forms will crack or explode during the firing.

